A few days ago my little niece, which is also my goddaughter, had her birthday and I missed it since my husband and I are out of town that weekend, along with our friends. They had to train for an obstacle course race coming soon and also I was busy fixing an issue with one of our projects, by the way, I’m a web developer/designer by profession. Yes, I love coding, arts and embroidering! <3 And speaking of embroidering, in this post I would like to share the handmade gift I made to my niece, which I believe you have already guessed what it is, Yes! an embroidered (ref) magnet. I also made one for her big sister and brother. Luckily, I stocked up some magnets when I went to a local bookstore long time ago. If you'd like to make one also, follow along the instructions. This involves easy stitches, so if you are new to embroidery don't worry, this is just easy to do. And I also included links to learn the stitches. I like the embroidered aspect of this one since this gives the gift a personal touch <3 Now, let's start! 😀
Here the materials:
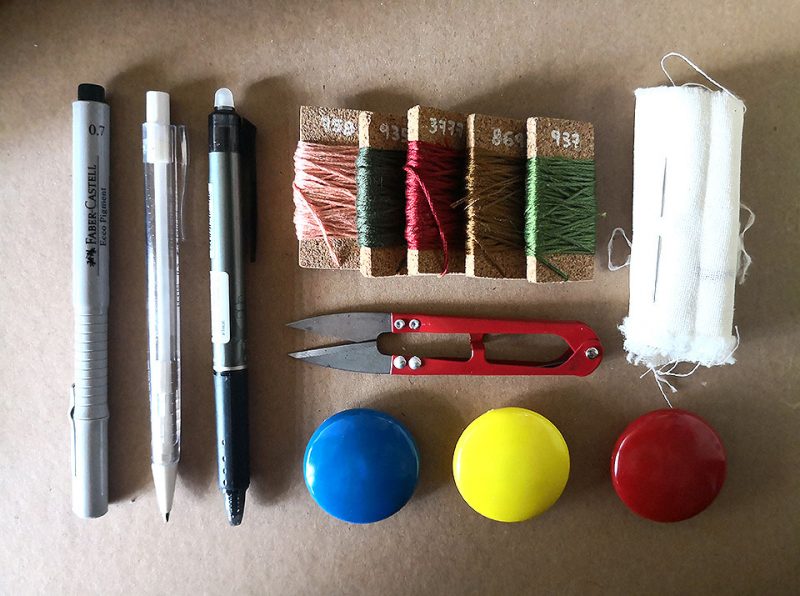
– 3×3 inch fabric (I used a muslin cloth, “katsya” in Filipino)
– Threads (I used DMC Embroidery 6-strand floss. Feel free to choose your own colors)
– Plain magnet(s)
– Scissors
– Pencil & Pens
– Interfacing cloth (“Pellon” is what widely known in the Philippines)
– Double-side tape
– Your reference pattern/design
Steps:
1. Firstly, find or draw the patterns/designs you’d like to embroider.
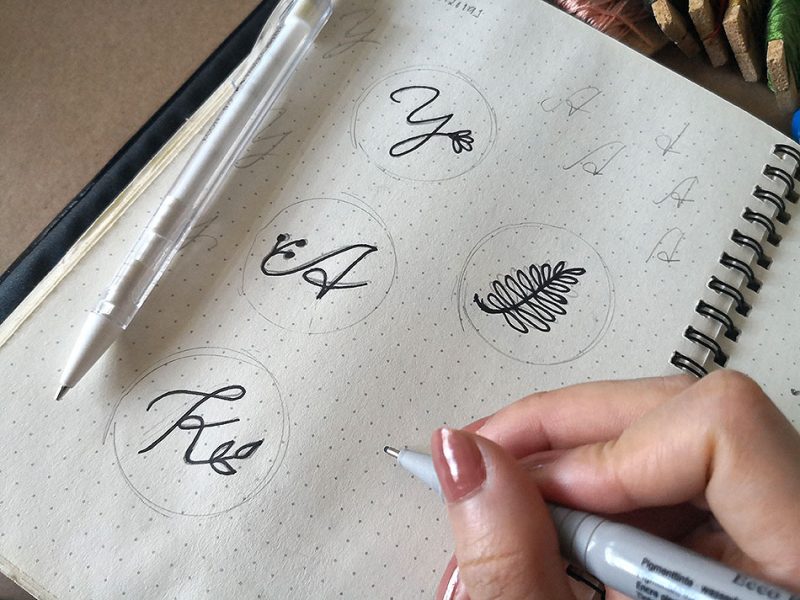
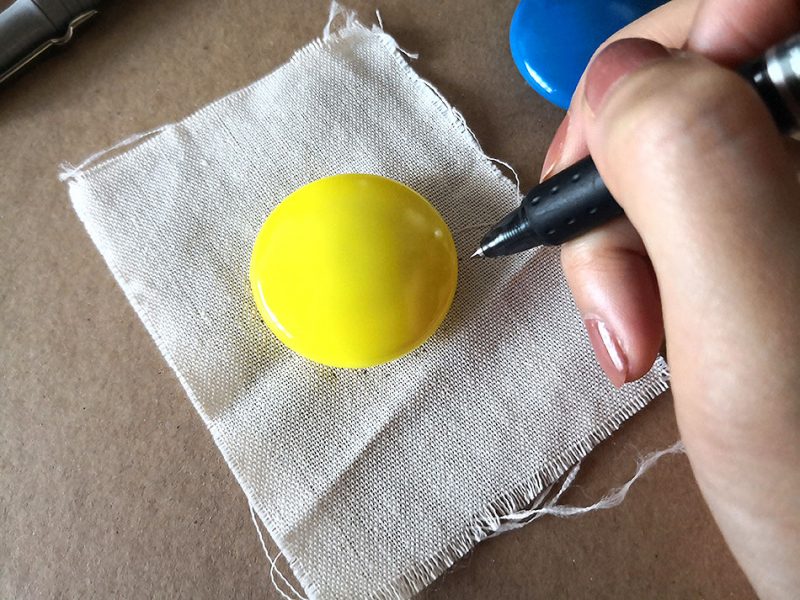
2. Get your magnet and fabric and draw an outline of your magnet into the fabric. I just tap on little dots, since this is just a reference. Then trace your pattern onto the fabric. Since muslin cloth has fairly lose thread, the pattern underneath can be easily seen.
Note: I used Frixion pen to trace and outline, since this can be easily removed by heat (I use a blow dryer and markings easily disappear!). You can use pencil to outline and any pen to trace the pattern, just make sure you can cover the traces.
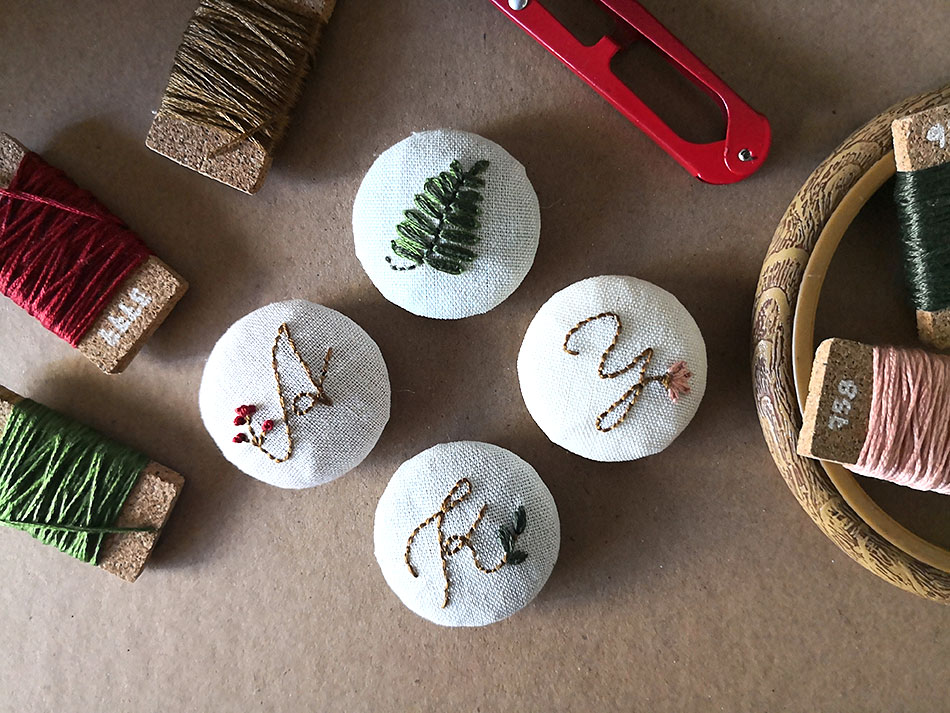
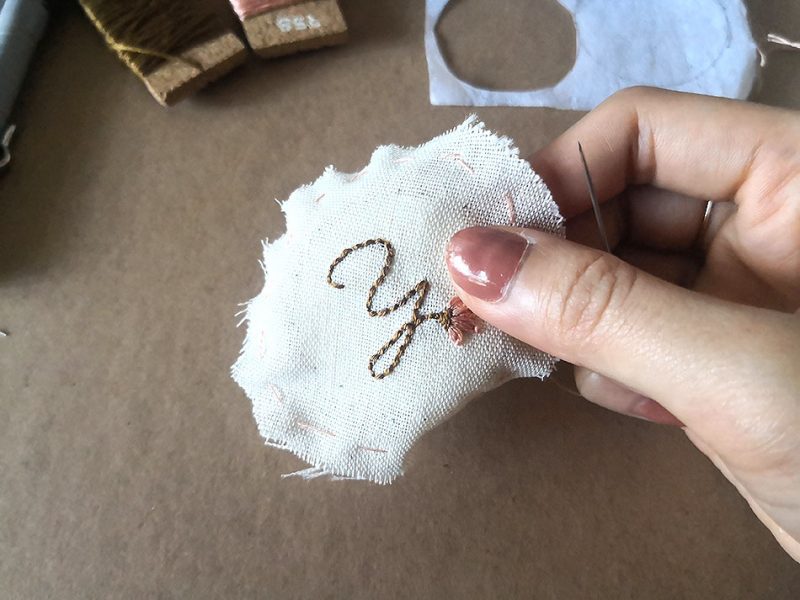
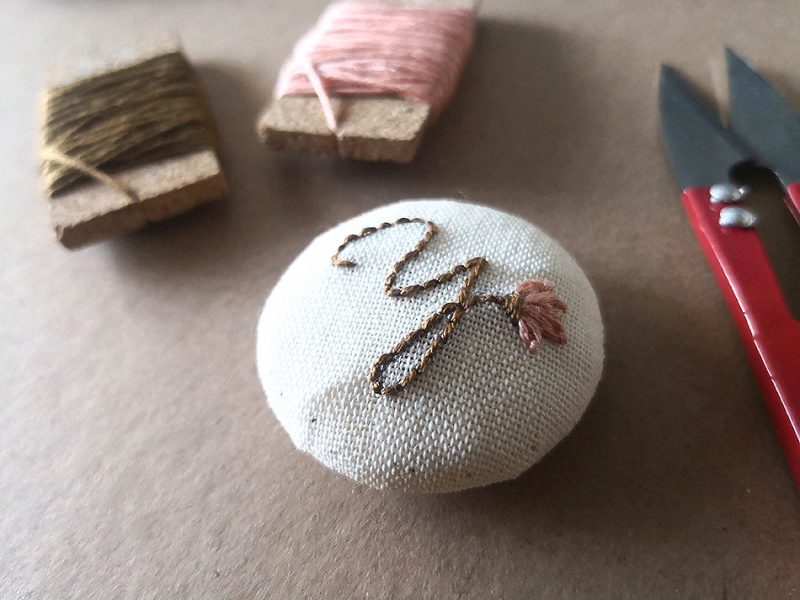
3. Now, it’s time to embroider! I usually use 3 strands of thread, but you can change it based on your design and preference. In this one I made monograms of their names and used a different color of threads for the design.
Note: I used backstitch for the letters, then single chain stitch for the flower. I will be posting a tutorial on these stitches soon.
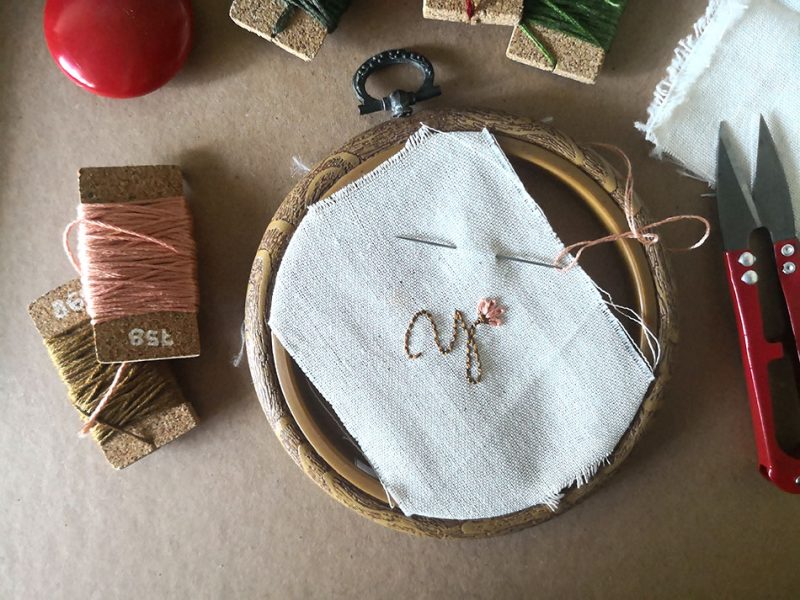
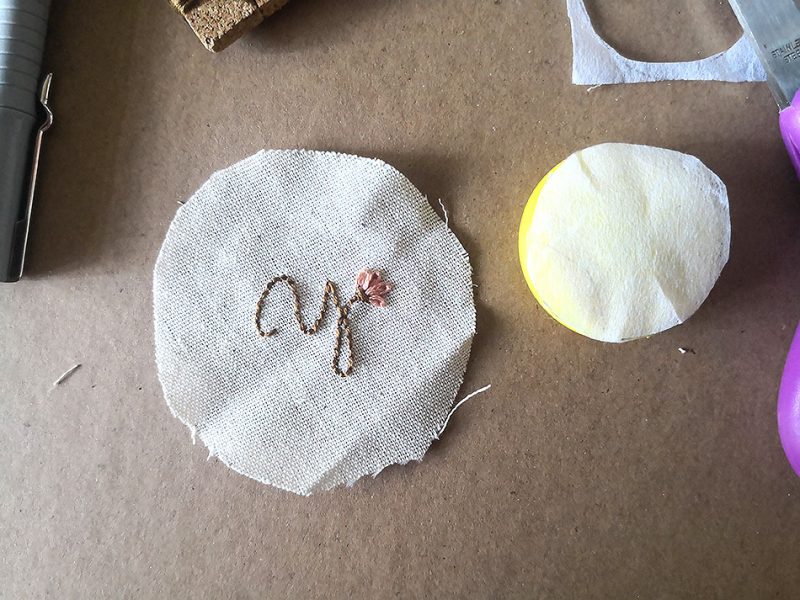
Here’s a photo of the finished monogram embroidery of my little niece’s name, her name is Yuniko.
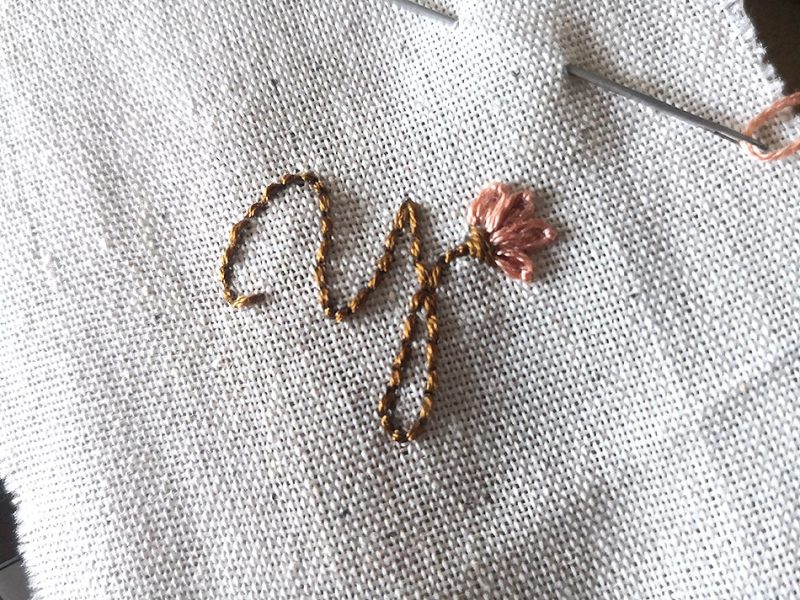
A close up of the embroidery.
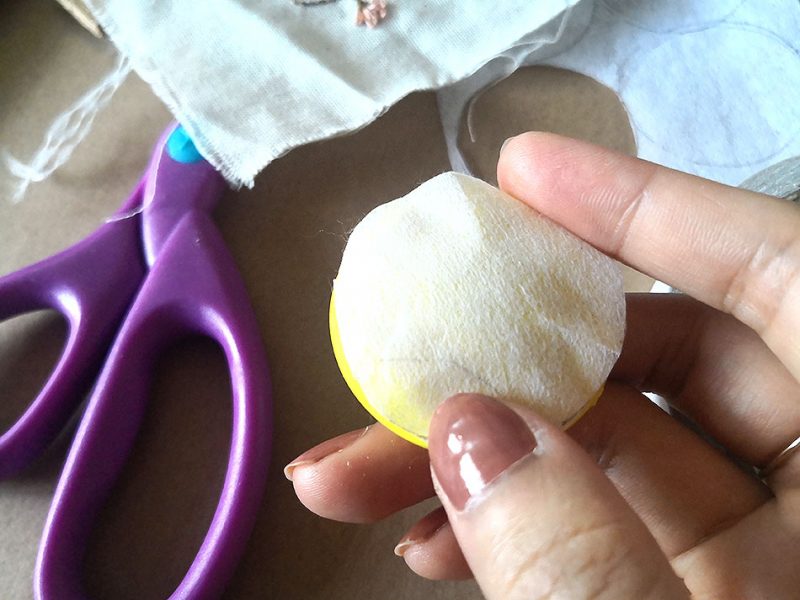
4. Trace again the shape of the magnet onto the interfacing cloth and cut out. Once done, stick it to the top of the magnet with the double-sided tape.
Note: I used the interfacing cloth for 2 reasons: Firstly, it covers the color of the magnet top and, secondly, it helps the fabric in place.
5. Get your embroidered fabric and mark again an outline bigger the original circle and cut. Maybe around half an inch away from the original circle (this will actually depend on the magnet that you have).
6. Sew a running stitch on the overlapping space (again, this will depend on the magnet that you have).
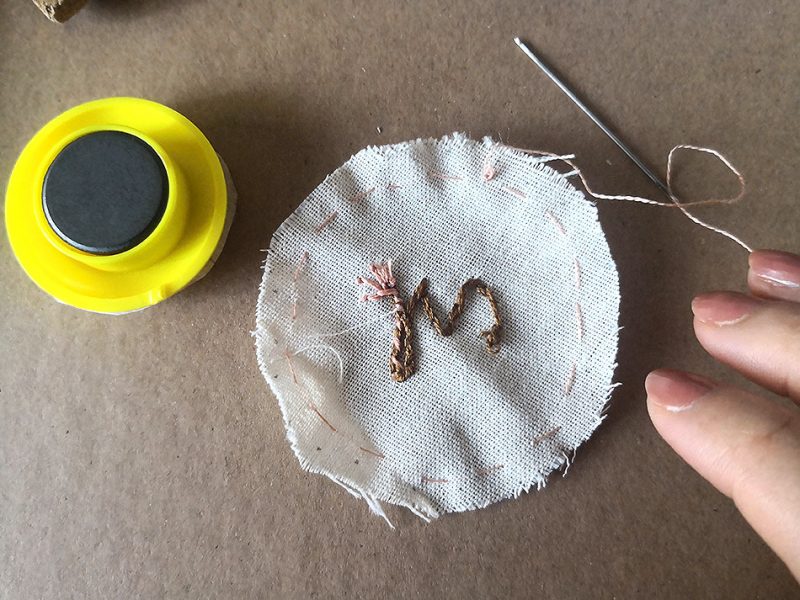
Back view of the fabric.
Front view of the fabric.
7. Then, gently pull the thread so the fabric will shrink inward. Do some running stitch again on the shrunk fabric until the fabric is tight then knot the thread.
Note: You can trim some excess fabric then push in the ends of the fabric.
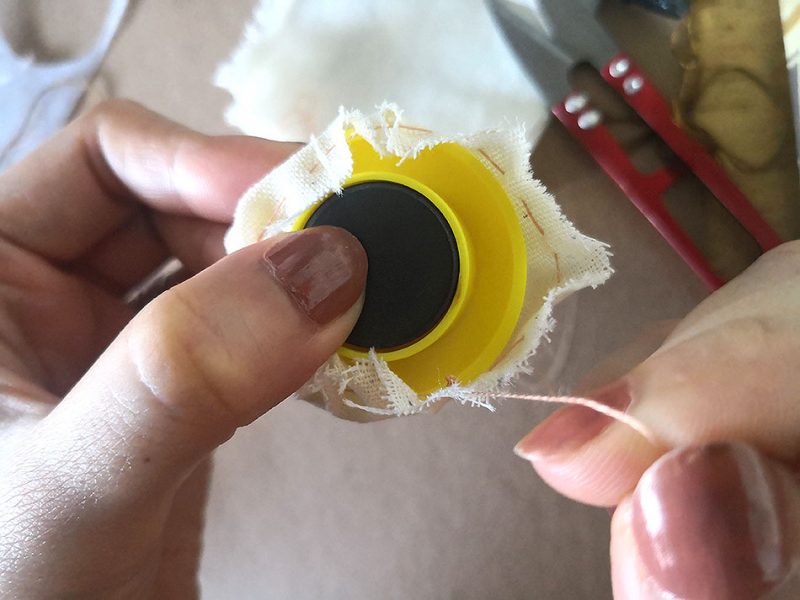
Pulling the thread.
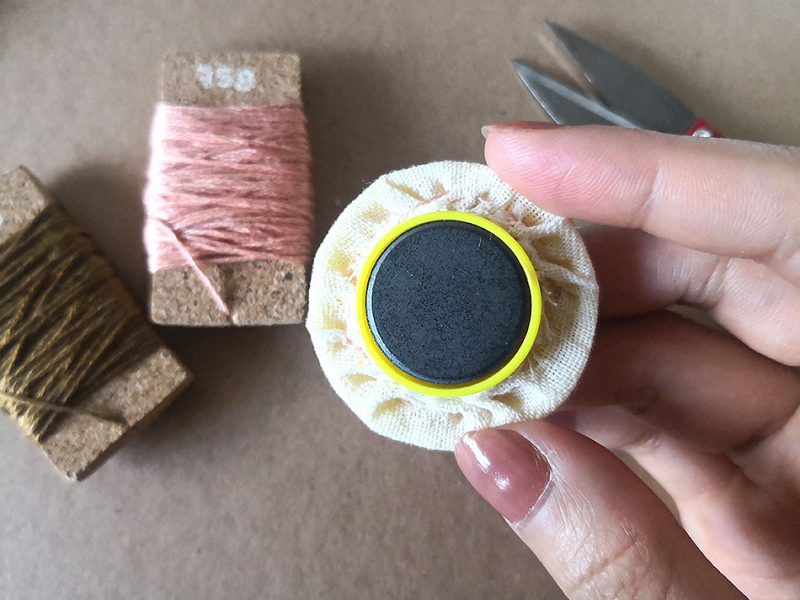
Did some more running stitch and cut the excess fabric.
8. Here’s the first piece that I finished. Then I made 3 more! 😀
Here are more photos of the finished pieces.


I had fun doing these! And love to see my nieces and nephew play with it, haha. Hope this post was helpful to give you some inspiration for DIY projects or a handmade and personalized gift idea. If you were able to make one, let me know! 😀