I’m currently stitching some mini embroidery designs for a personal project I’m working on, which are embroidered coasters, and thought of the capturing some stitches 📸 I’ve been really delayed in posting stitch tutorials, if I’m not mistaken I believe I last posted about it was almost 2 years ago 😅 And so here I’m resurrecting it! 🥳
For today I’ll be sharing how I stitch fishbone stitch with variation. So, this isn’t really the basic one but all the basics are there with a creative twist! 🌟
What’s unique in this tutorial
Here are things to note before trying this out so you’ll have an idea what I have in mind in stitching this particular design:
- This stitch comprises of two tones of threads that will create a sort of gradient. To achieve a gradient feel, it’s a good idea to select different shades of the same color. But, you can choose a totally different colors for an exciting look.
- This is a mini design that gives fine details (not like the ones that are raised or embossed), where I used 2 strands of threads for each tone. Though may still be applicable if you larger design and thicker threads.
- And since this will be for a coaster, I’m aiming that the stitches be as much as possible level with each other, with right the embossed effect. I’m avoiding that the embroidery will cause my cup unbalanced ☕
All the basics are there with a creative twist!
Video Tutorial
Here’s a video of me stitching it that you can follow along:
Or you may read on with written steps and tips 😃
Steps
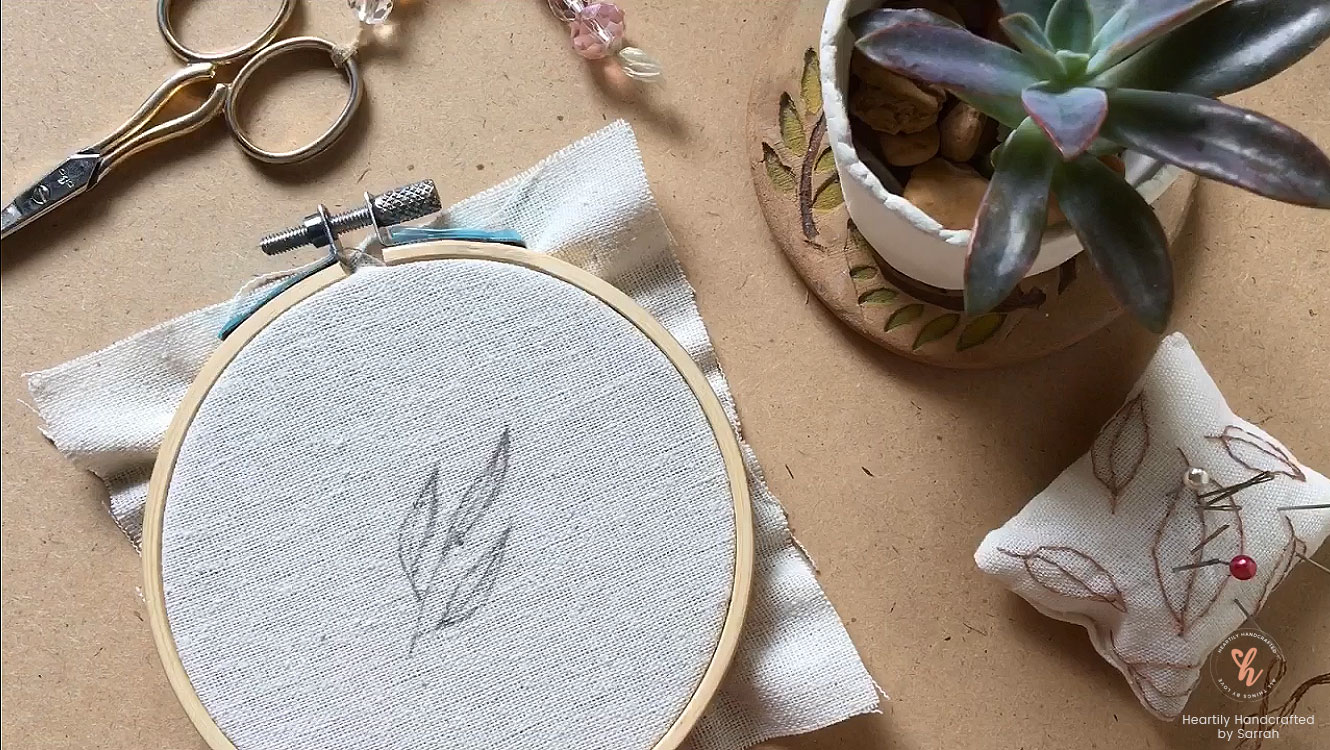
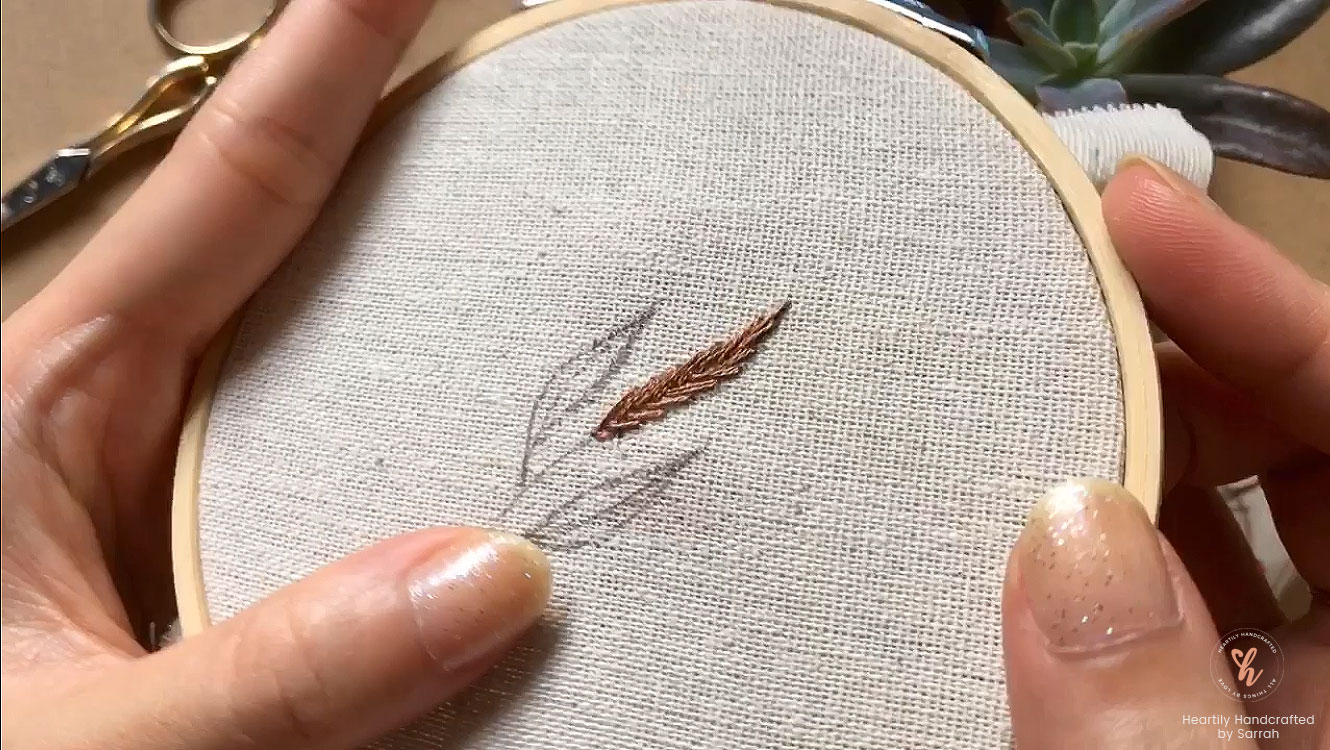
- Draw your leaf pattern. You can draw something like I did. It’s to add it some curve, which I think gives more realistic feel and makes it prettier.
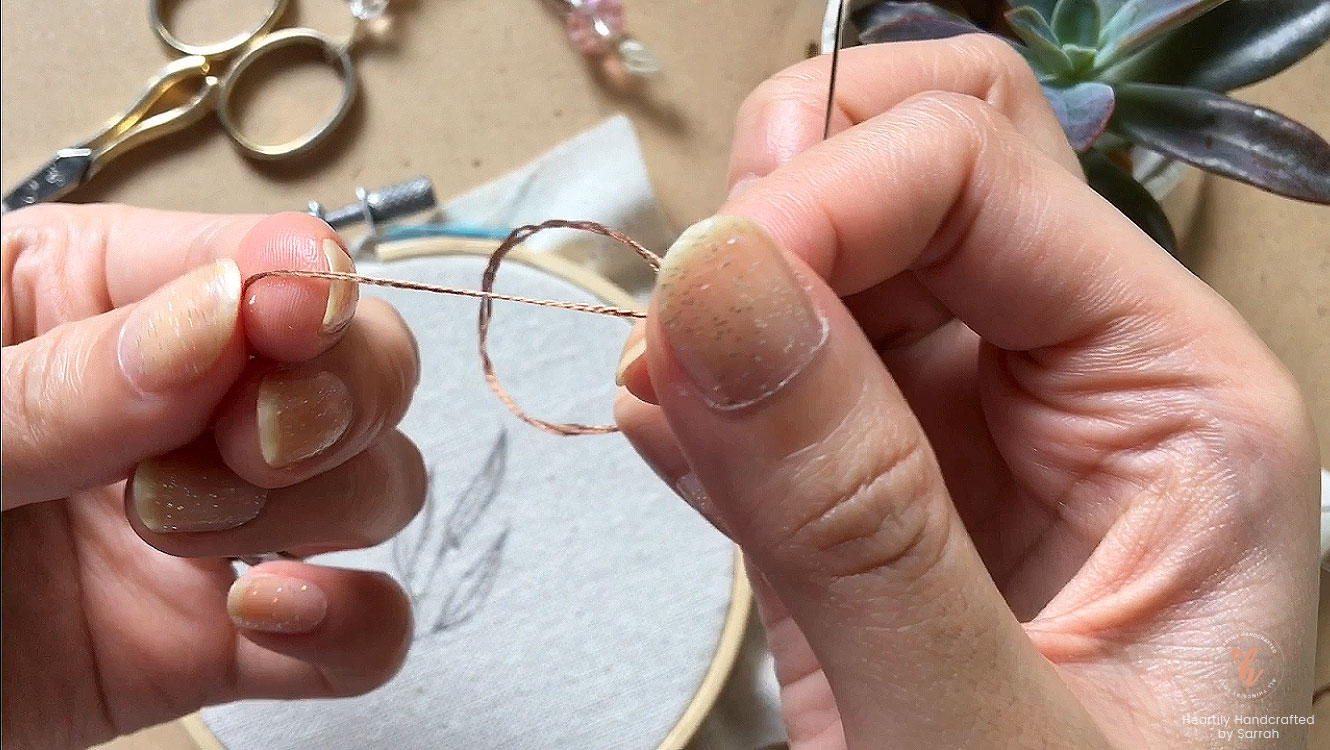
- Now, it’s time to stitch! Get your threads and thread in 2 strands for each color. Use the darker shade first.
Simple Fishbone
Here are the steps to do a simple fishbone stitch. You can read on or try this out first before moving on to the variation. I think I should do a separate post for this, hopefully some time soon ✨
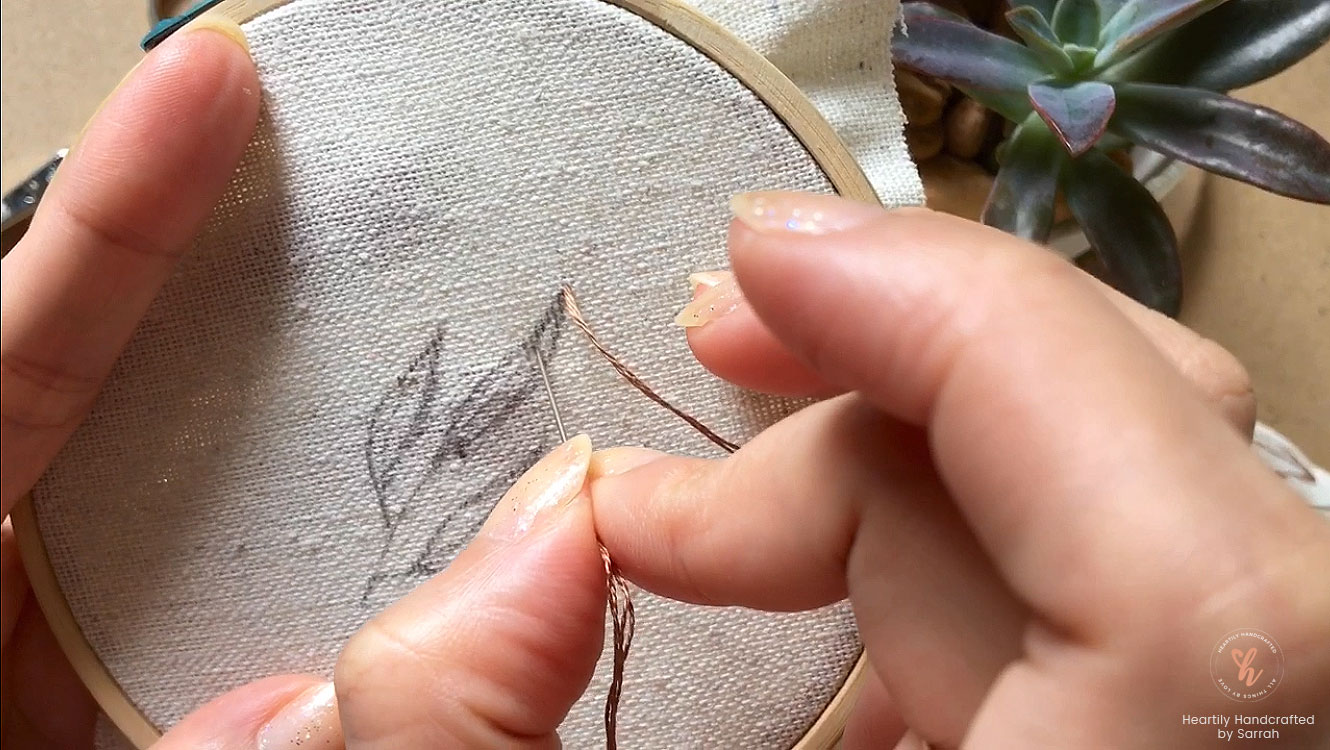
- Start from the tip of the leaf then push your needle about more or less a fourth of the size of your entire leaf.
- Then pull your needle up on the right side (or left side) and lower from your first stitch. Put the needle down back to the center vein line. Now, you have a your first diagonal stitch.
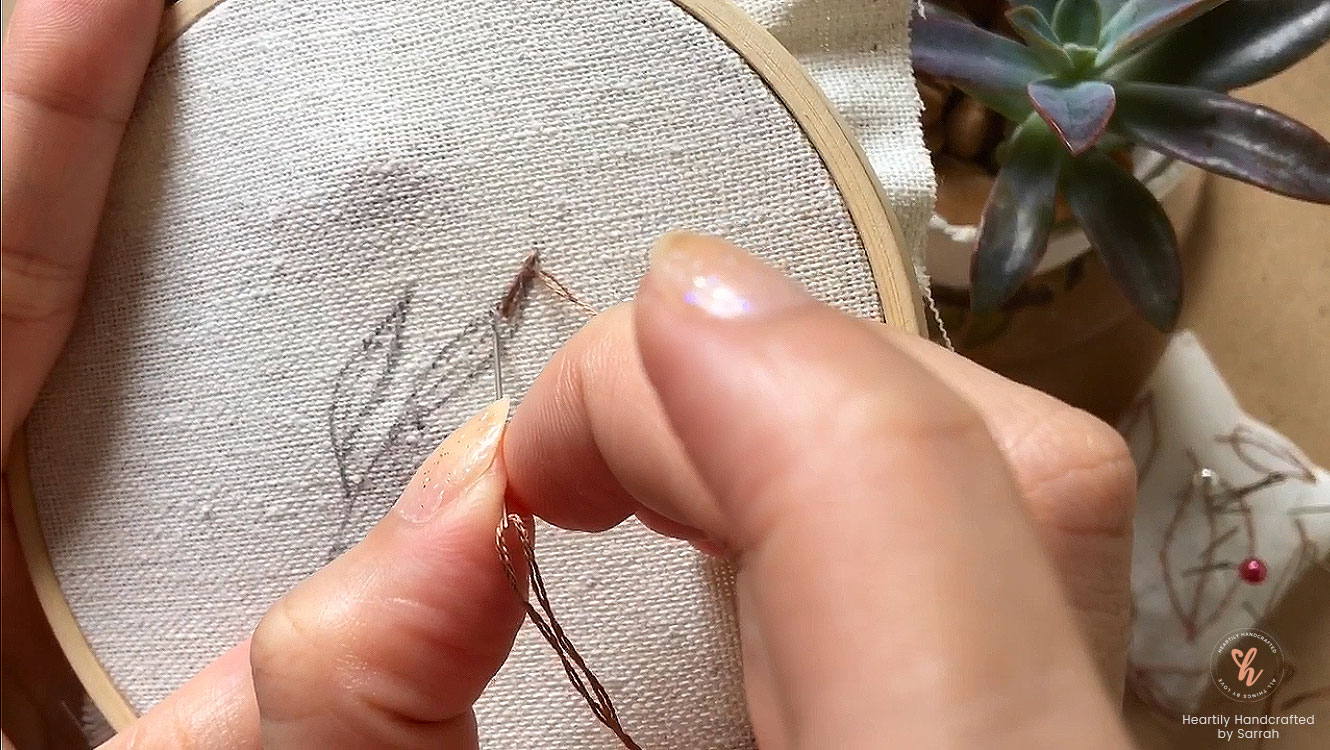
- Do the same on the other side.
- Repeat steps 2-3 until you reach the end of the leaf. The diagonal stitches should be alternating.
Tip: The length of this first stitch will mostly dictate the length and the angle of the succeeding stitches. Then pull your needle up on the right side (or left side) and lower from your first stitch.
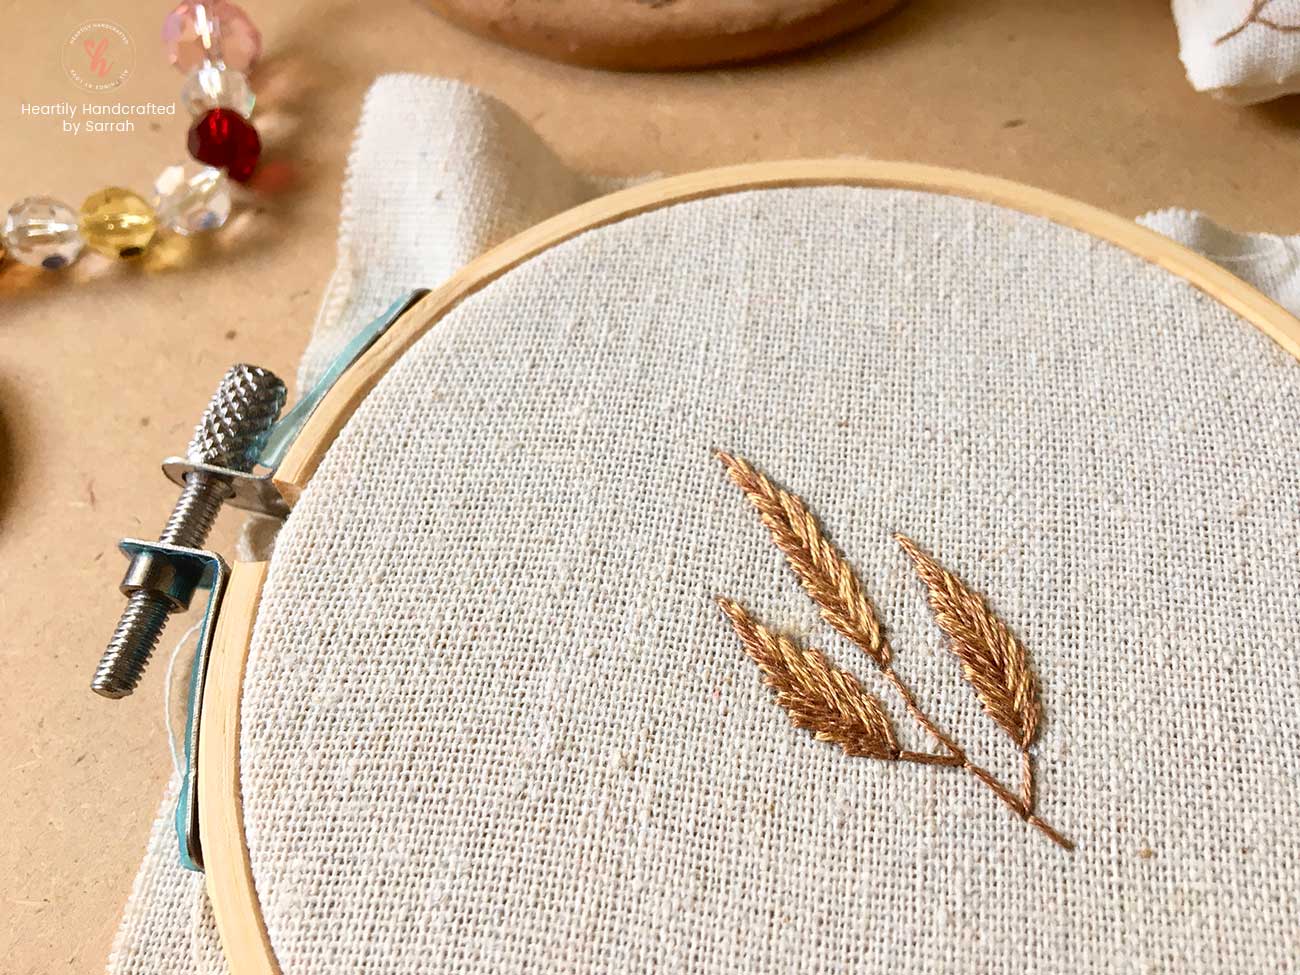
Two-tone Fishbone Stitch
The idea will be the same, but the he main the difference is that we will be creating gaps as we stitch the first thread color then fill it with second color.
- Using the darker thread tone, start with the tip then push your needle about more or less a fourth of the size of your entire leaf.
- Then pull your needle up on the right side (or left side), but this time it will be a little lower from your first stitch. Just enough space for one stitch.
- Do it to the other side and then back to the other again.
- Repeat steps in alternating fashion. You may add more space if you’d like to add more 2nd tone on that space.
- Do this stitch also to the other leaves to finish the first thread shade.
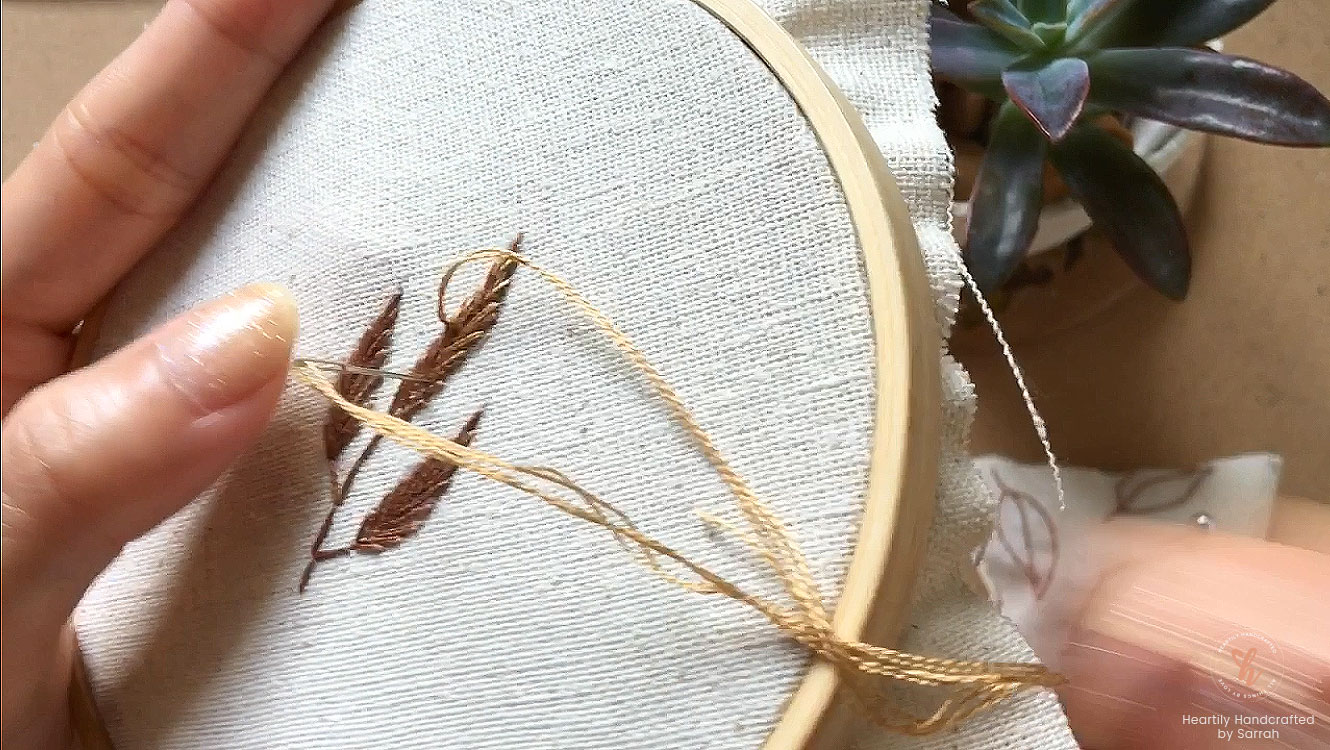
- After reaching the bottom, you may start filling the gaps with your second thread color.
- Stitch your way down alternately and you’re done! Yey! 🎉
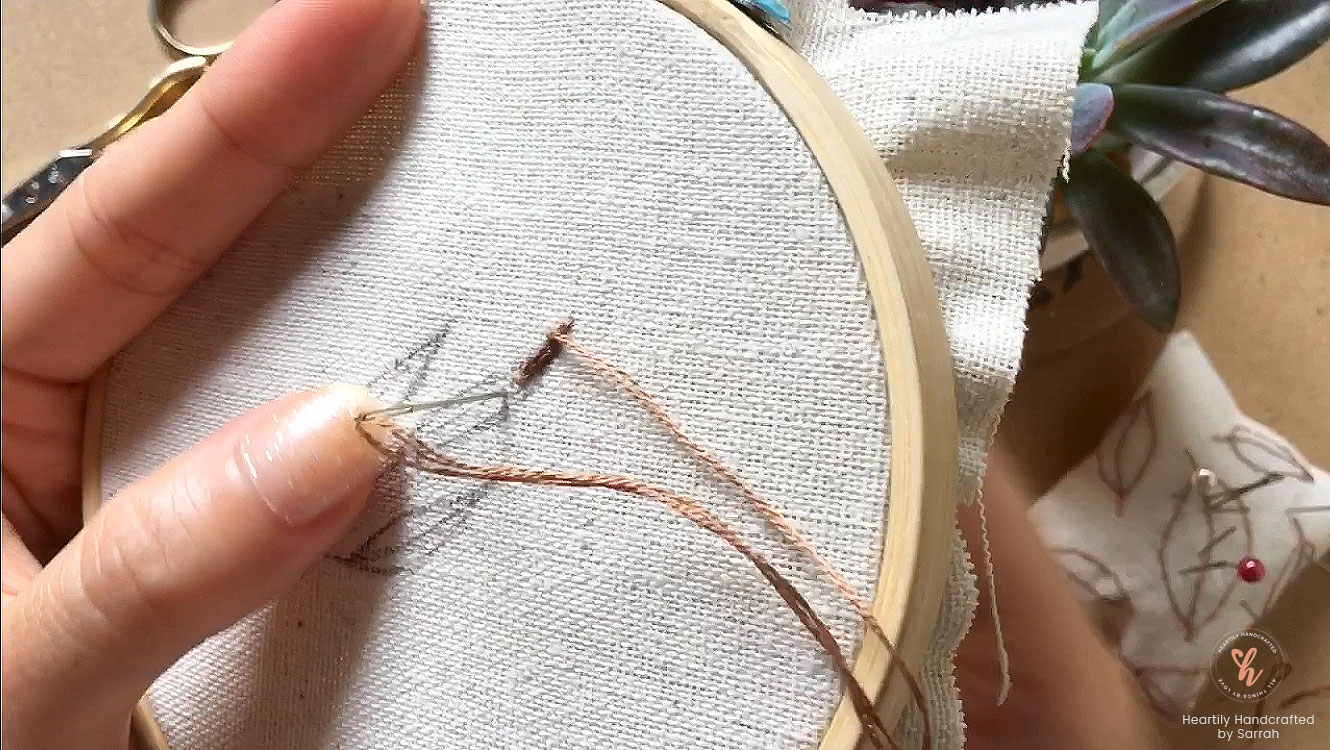
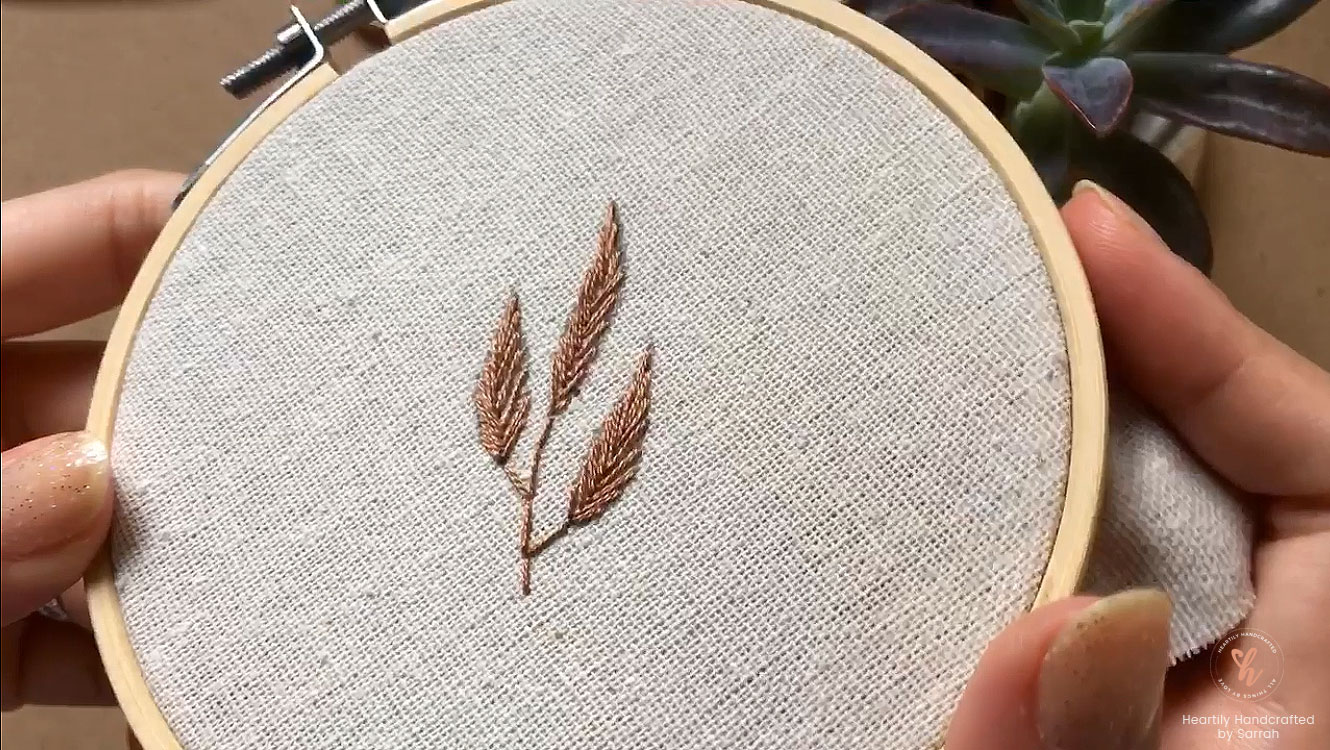

Tip: To give a smoother gradient transition, when pulling down thread in the center vein make you pull it under the first thread color. In this way the second thread will not overlap the first thread color as much as possible.

Tip: You can add more second tone on either side to give a light source effect like I did in the left leaf.
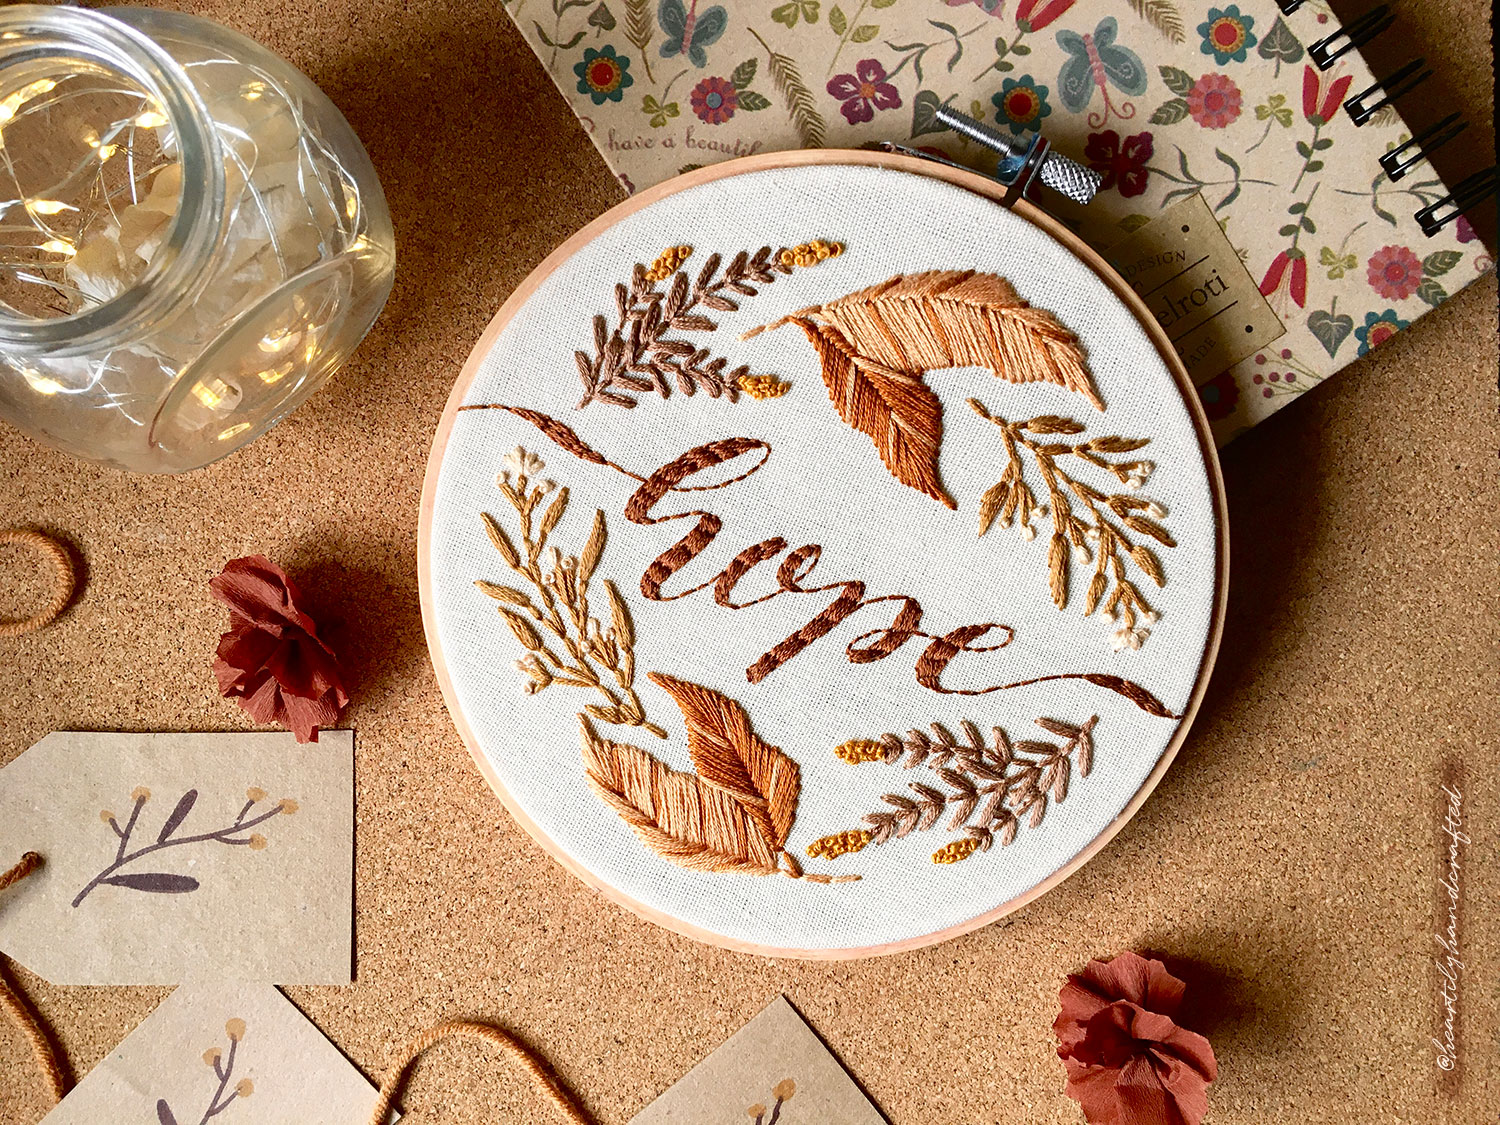
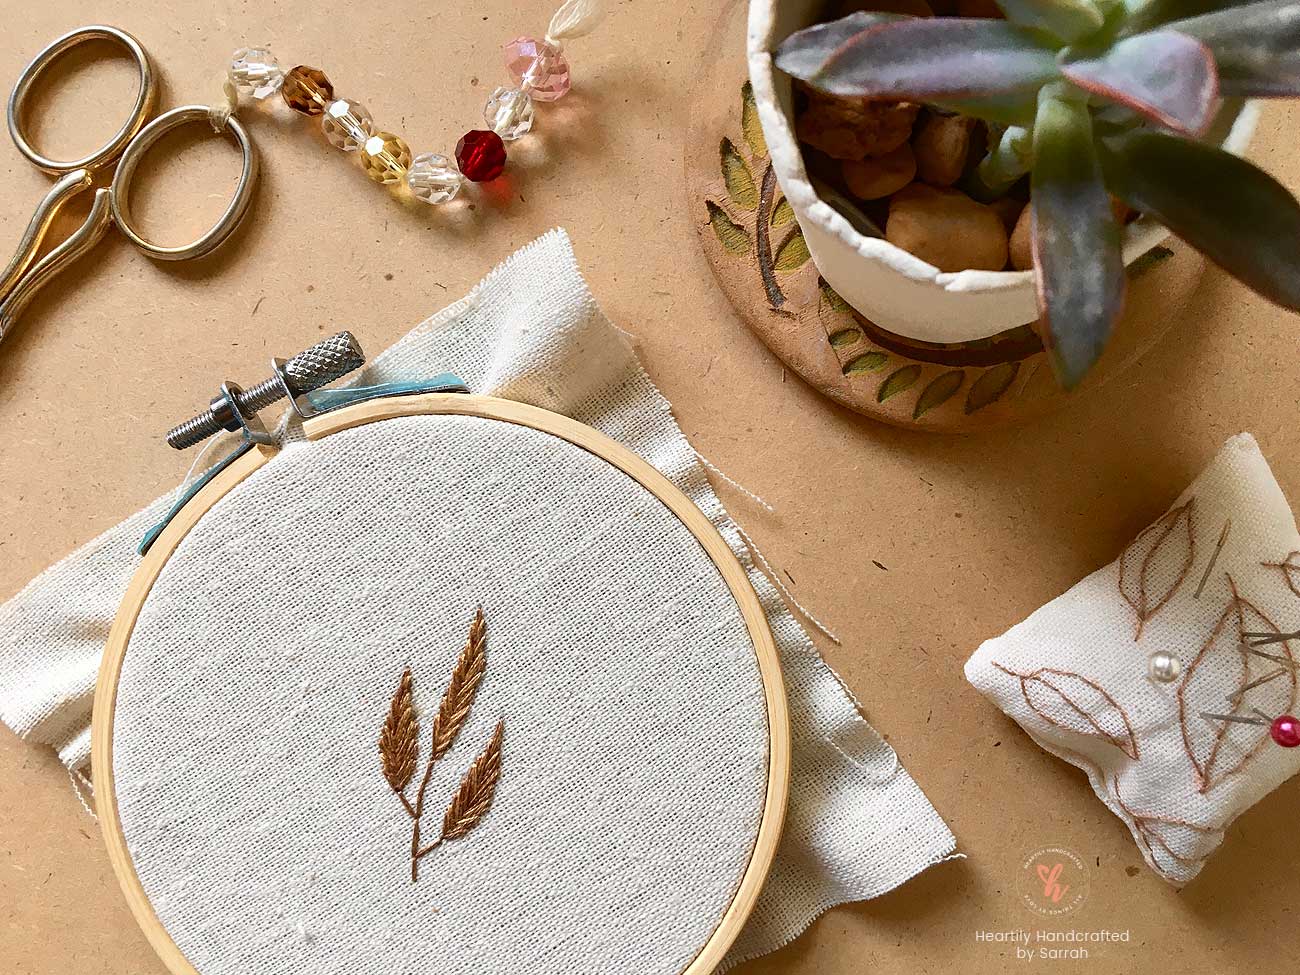
Finished Photos
See more photos of the finished embroidery 📸
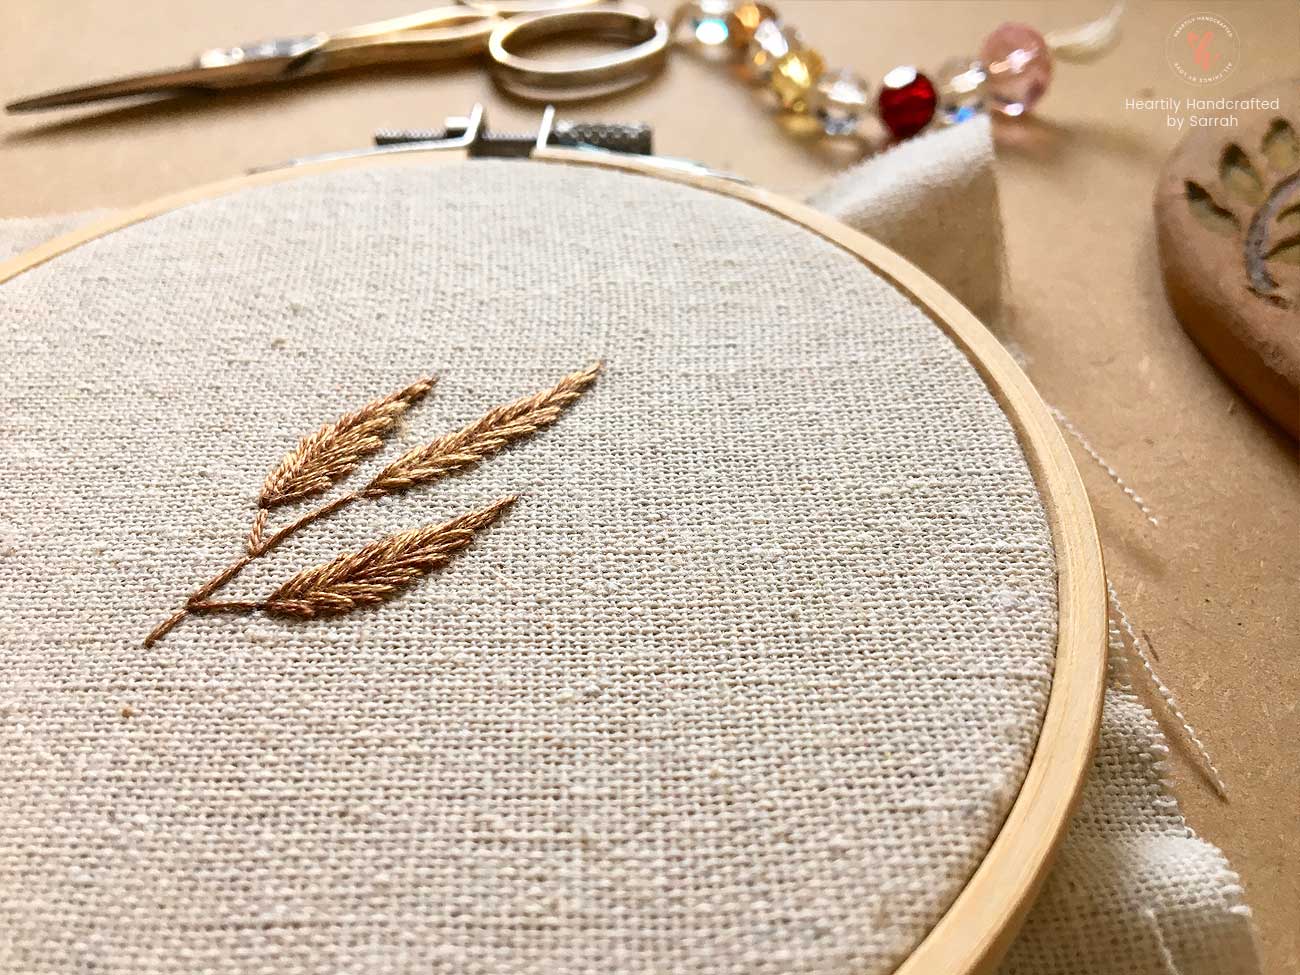

Hope this tutorial gives your fishbone stitches more style for your future projects 🌿 Congrats! 🥳 Have a blessed day and always keep safe! 🌟