Hi everyone, I hope you are well and safe. At this time point we are living in a different time and that we really need to take care of ourselves. A tutorial that I’ll be sharing is something I hope would really be useful for you guys – a DIY handsewn face mask. The reason why I did this one is really because of the need, especially when my husband needs to go for groceries. It is also something that we can reuse and is washable, since the quarantine has been extended in our country, and also I can still use in the future.
Because I don’t have a sewing machine or something similar, I need to sew using my hands. And that’s why I would like to share how do it, for those who don’t have a machine and would love to do something handmade. Also, in this project I embroidered it to make it more fun and personalized 😀
If you’re ready to make one, read on 🙂
You can continue scrolling to follow image steps or watch the video tutorial here:
Materials:
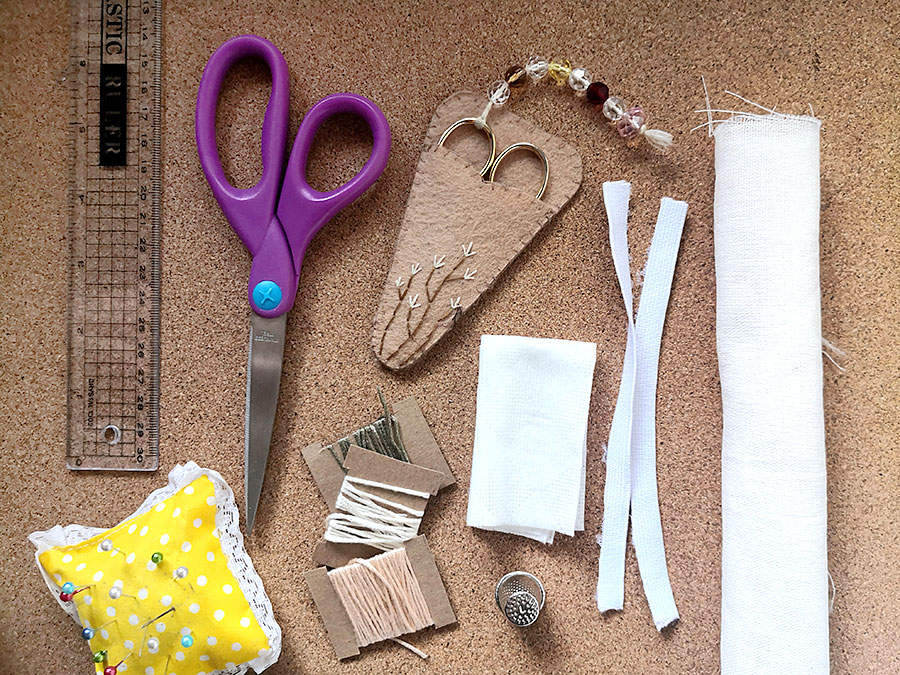
- 9×14 inch cloth (muslin/katsya/cotton cloth – any other 100% cotton cloth is a good choice. Also, wash it before starting)
- 2 pieces of 6 inch elastics/garter as we call it locally (6.5 inch for my husband, adjust accordingly. Also, you can recycle elastics from old clothes that you no longer use.)
- Scissors (any will do, I use embroidery scissors for embroidery)
- Ruler
- Threads (I used embroidery threads, but you can also use regular sewing threads)
- Needle (I used an embroidery needle both for sewing and embroidery. You can use a sewing needle too)
- Pins and cushion
- Thimble
- Marker (Simple pen is ok as long as you can hide it and will not bleed when washed. I used a Frixion pen and Kearing)
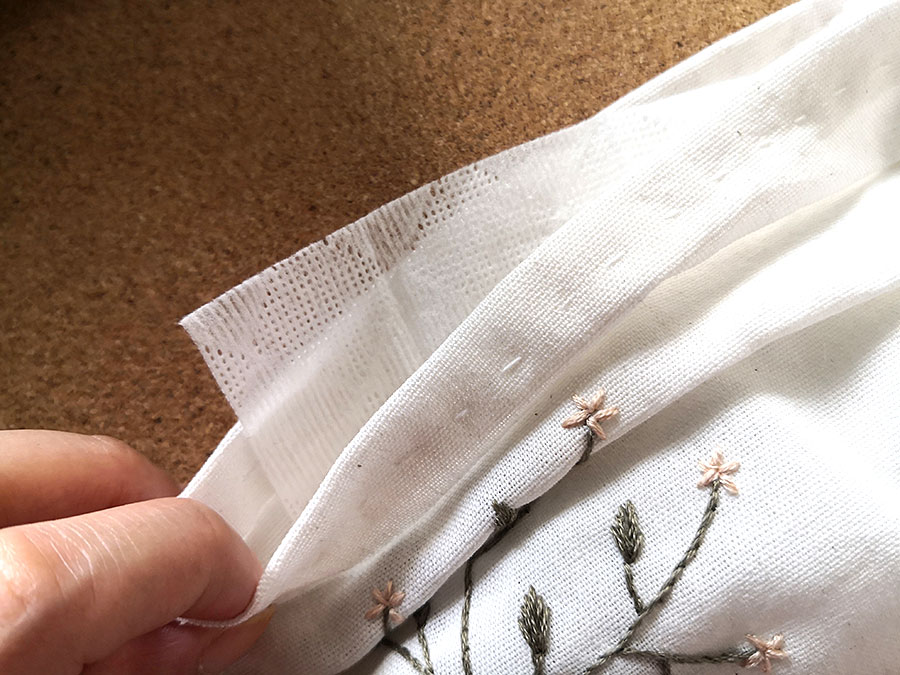
- Dried wet wipes (this is important to add filter for the fabric)
Steps:
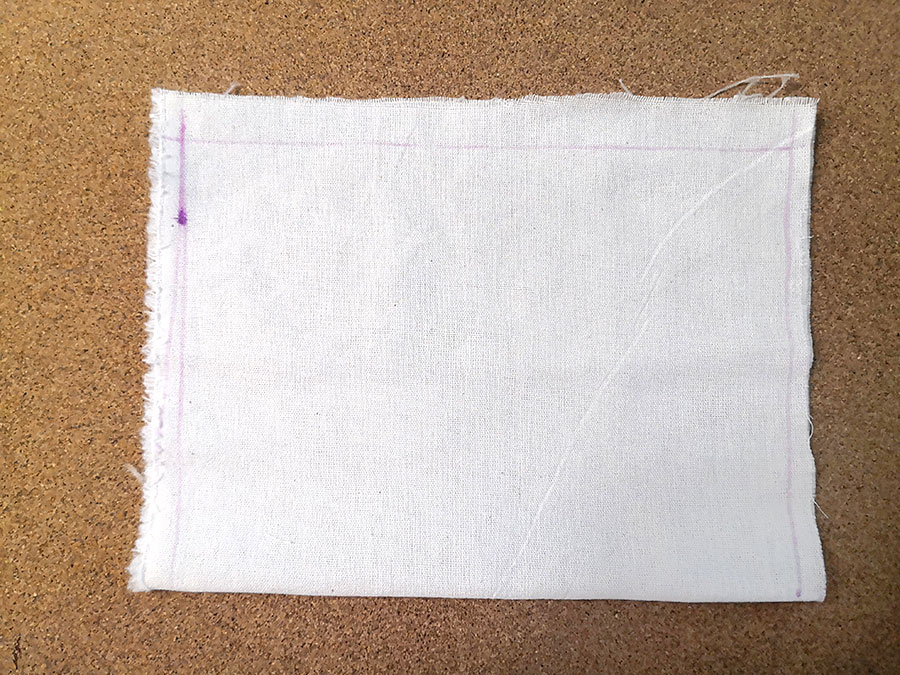
- Fold the cloth in the middle, crosswise. Inner fold will be the right side. So, the ones outside now will be the wrong side. You can optionally do a blanket stitch for the edges so it won’t fray. Note: The idea is to have a pocket that’s why we’re folding it and also a make double layer protection.
- Mark about half an inch from edge on each side. For the top, you can add more. Leave the folded edge as is.
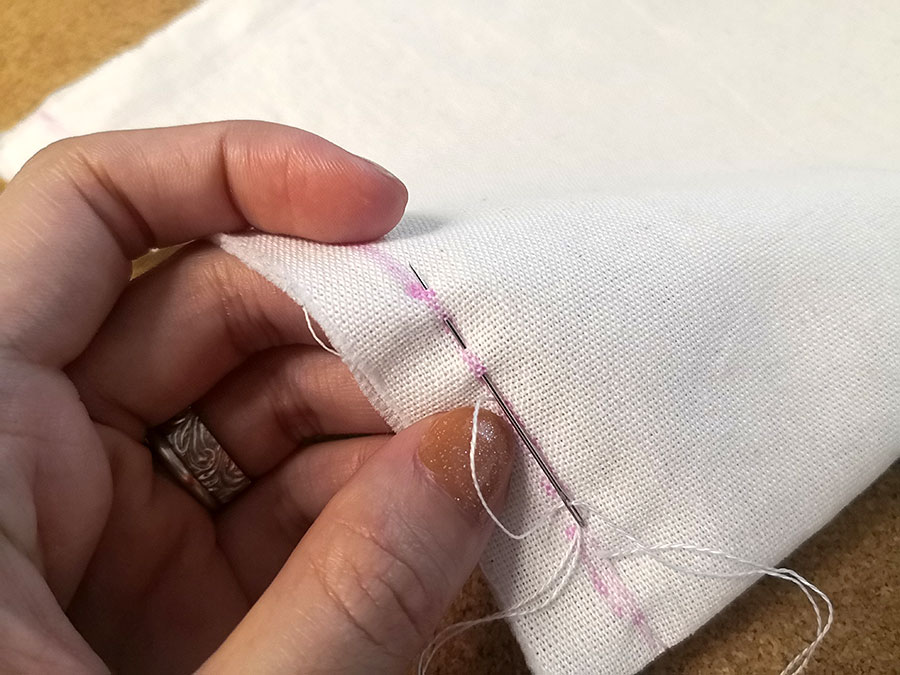
- Sew the cloth together following the markings. I used a running stitch (you can go back to close the gaps). Do the sides first then the top. When sewing the sides, sew from bottom to top, then stop to the half inch mark of the top. When sewing the top, you can optionally make an inner fold before stitching (which I did for the other one). Note: Remember to keep the opposite side of the fold open (the top part), to make a pocket.
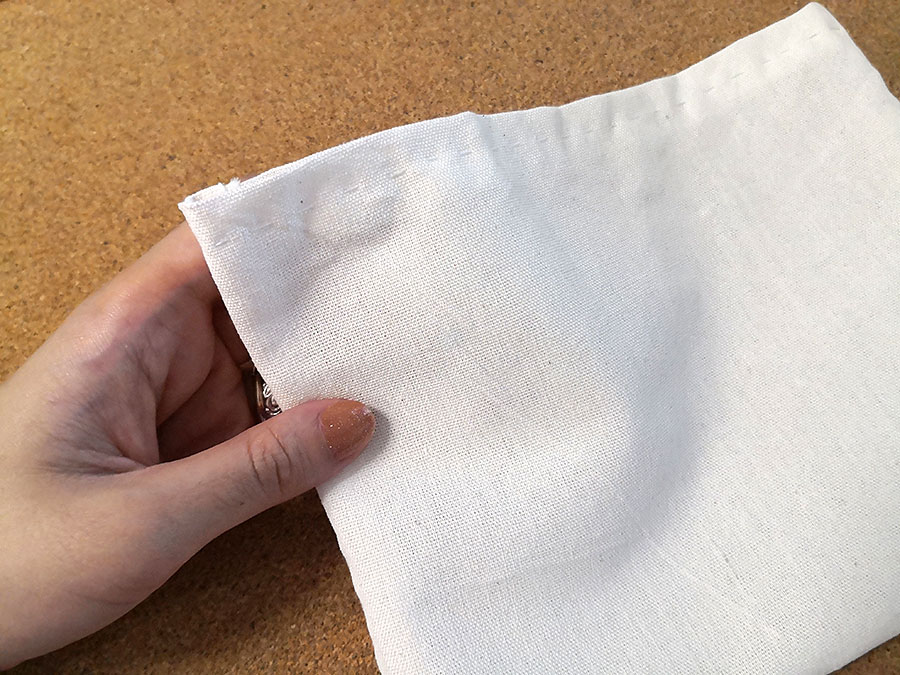
- Flip the sides now. So, the inner side will be the outside or the right side and vice versa.
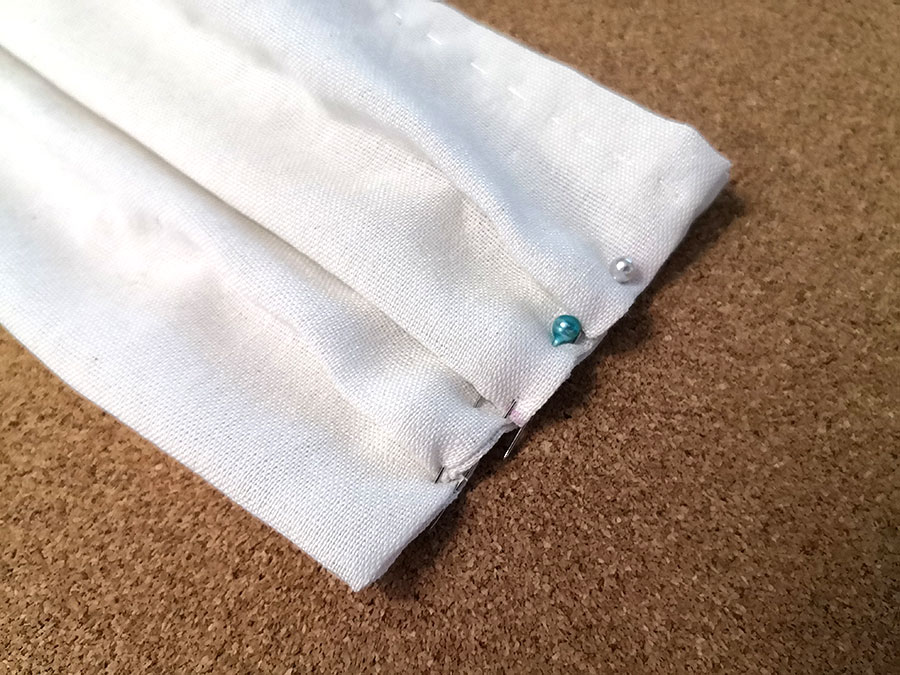
- Make three folds in the middle then pin their sides. Snug it well so it will be easy to stich a straight line.
- Mark half an inch on both sides and also on the top.
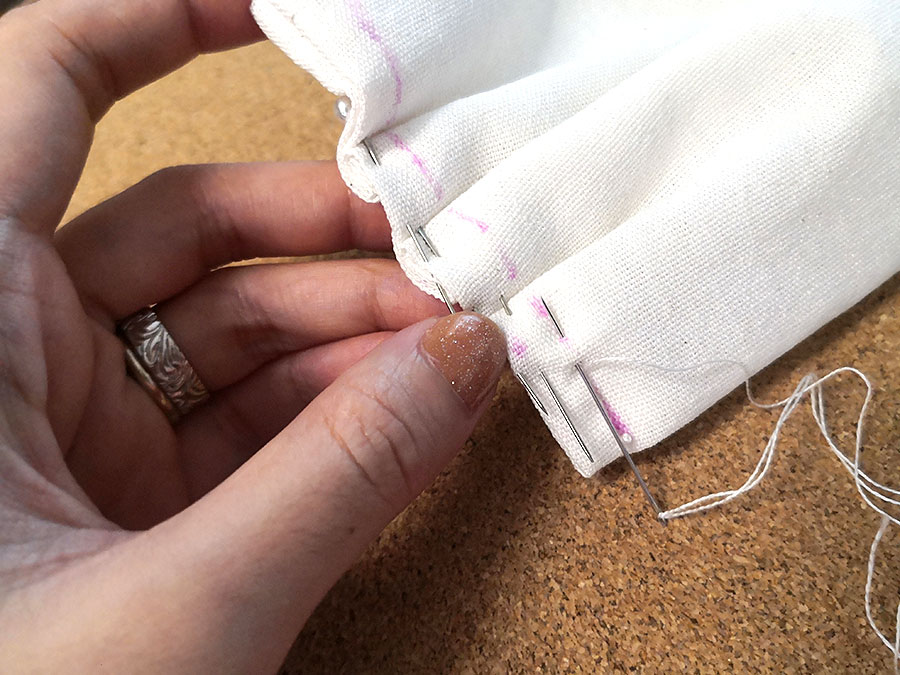
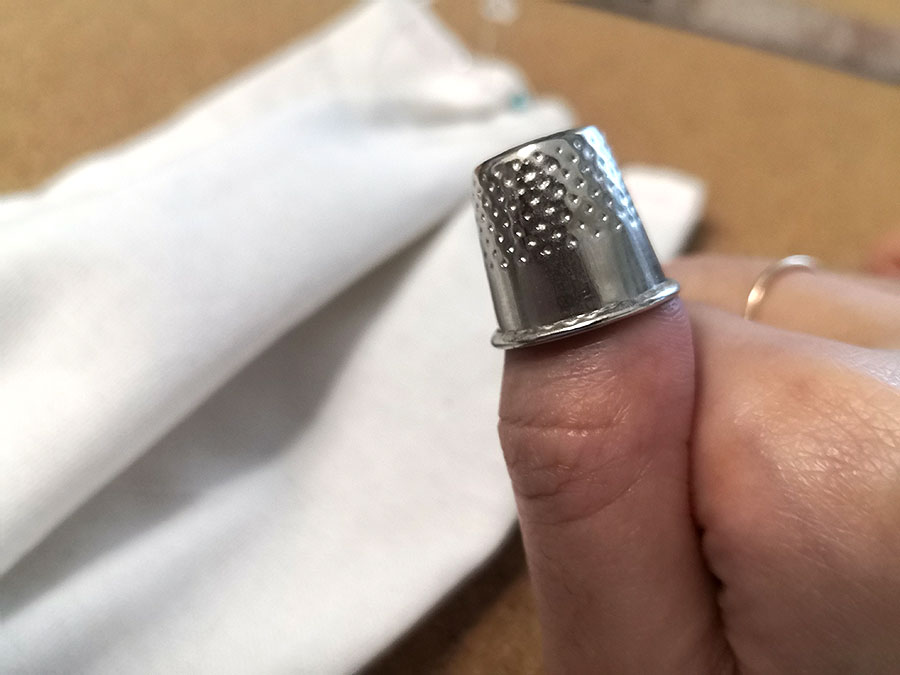
- Stitch the markings with running stitch. A thimble will be useful here to push the needle since you’ll be sewing layers of fabric in the folds.
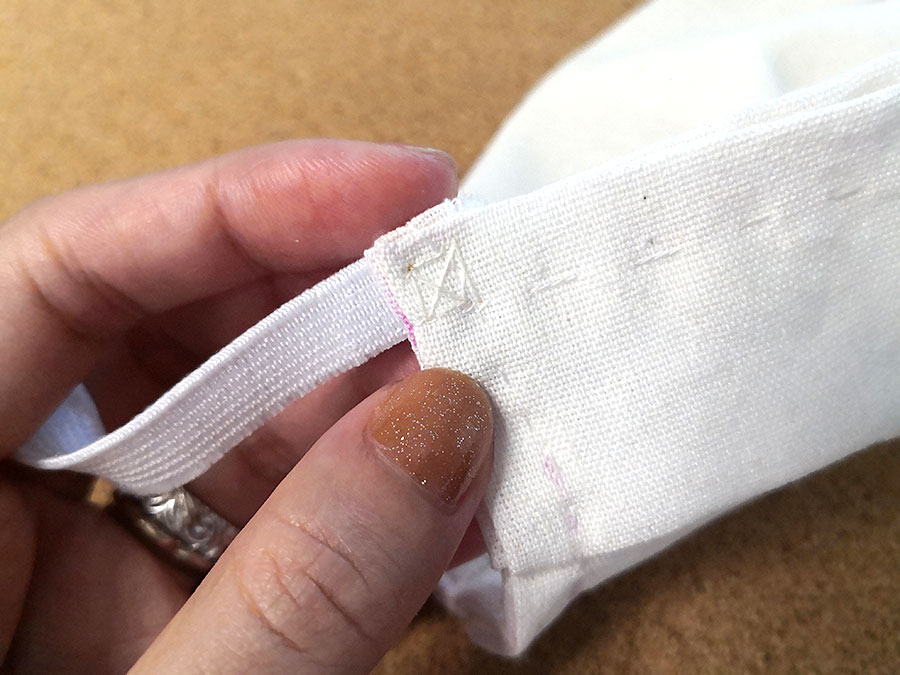
- Sew in the elastics on each end of the top and bottom. Place them at the back side. Make a simple boxed cross stitch to attach it to the cloth. Before cutting the thread, make a hem stitch to the edges of the elastics into the cloth to prevent fray of the elastics.
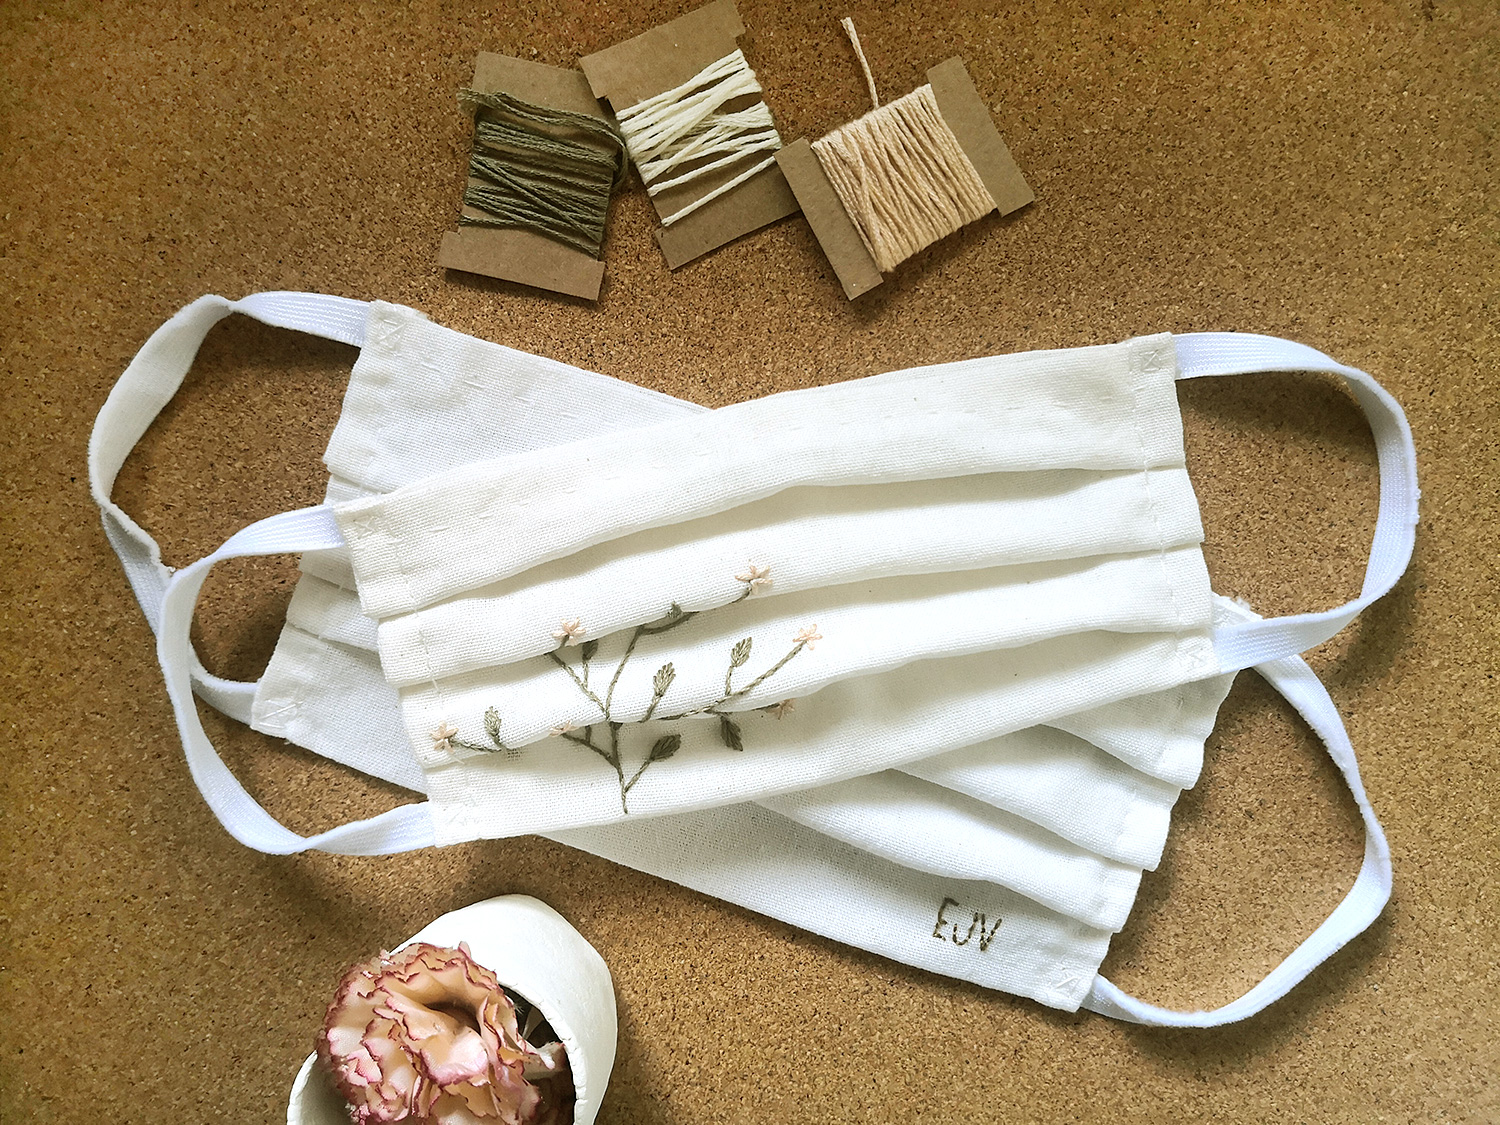
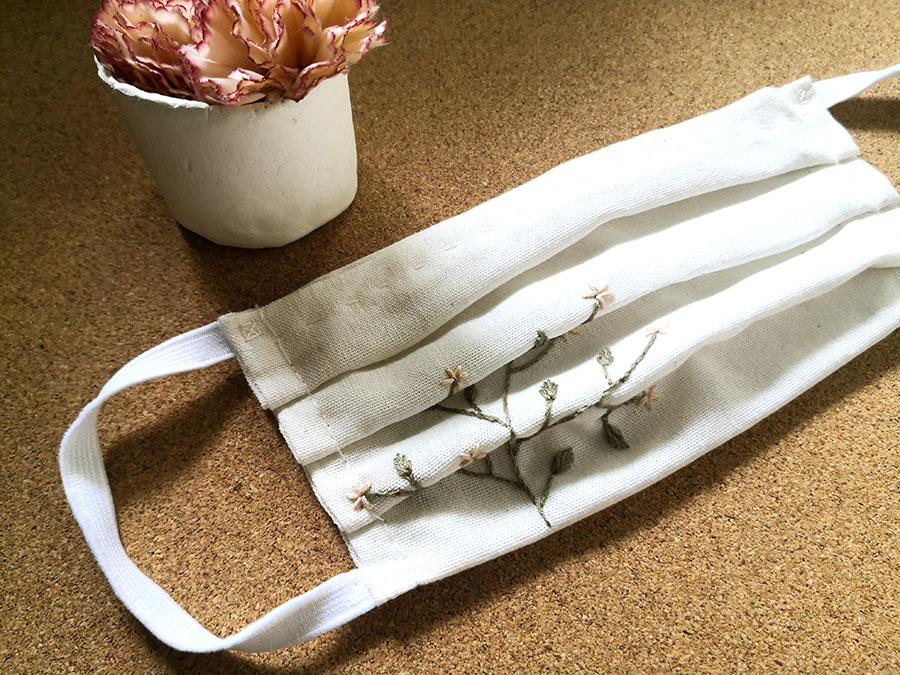
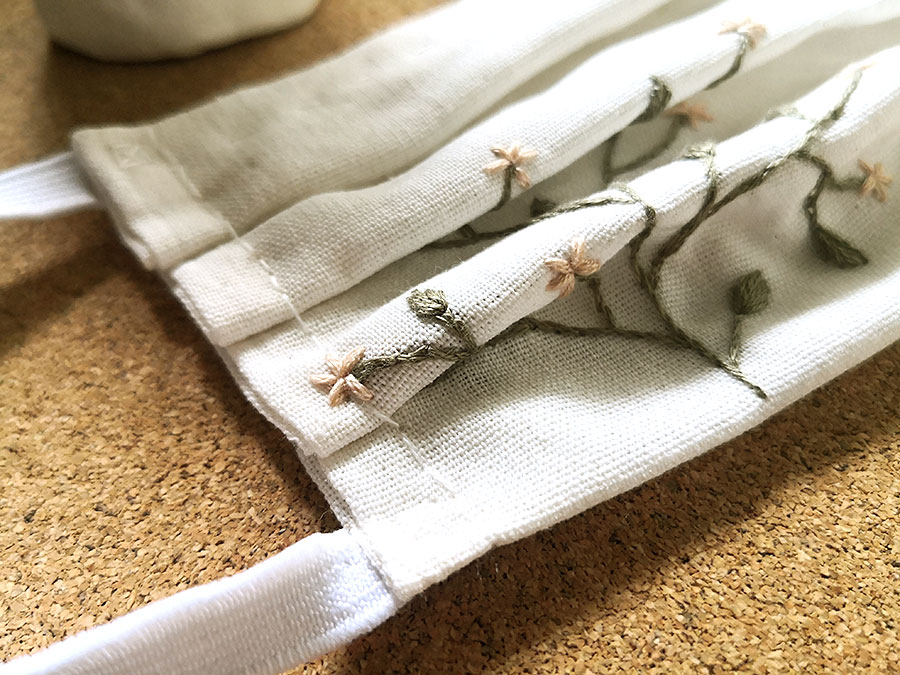
- Time to embroider! Draw a pattern and embroider wherever you like. I made a simple floral design for my mask and initials for my husband. I embedded here a video demo of the floral embroidery:
Note: For more intricate designs like the flowers, you can do that first before step one using an embroidery hoop so you’ll be able to stitch easier and the cloth will be stretched properly. For simple designs like the the initials you can do it during this step (I used back stitch for this).
- Lastly, put in your dried wet wipes inside the middle pocket and and it’s ready to go!
For steps 1 & 2. The opposite edge from the fold will be the opening of the pocket.
And there you have it, you’re done! Congrats! 🎉
Some photos of the finished work:
Please read on for more significant details…
Before doing this, I did some research and here are some resources that you can check out for more information and where I based my tutorial:
- Cloth Face Cover from CDC
- DIY CLOTH Face Coverings from CDC
- Research Study on the Efficacy of Homemade Masks
- Best Materials for DIY Face Mask
- How to Sew a Face Mask (With Sewing Machine)
- Improvised Cloth Face Mask (A Doctor’s Idea)
IMPORTANT NOTES (specifically regarding the current Covid-19 pandemic):
- Please carefully read and take into account the guidelines enumerated by CDC (Center for Diseases Control and Prevention).
- The purpose of this DIY face mask to is have an alternative from using disposable face mask and N95. This is to help preserve the supplies of those masks for where they are most needed – by the health care workers (because they are the ones who are very much exposed to the virus and really working hard to help fight this pandemic).
- This is solely intended to be used by non-health care workers as a way to impede the spread of the virus.
- I suggest to always disinfect before and after use. Please hand wash in warm water every after use. Leave for at least 30 minutes, then mildly scrub if necessary. Sun dry if possible and store properly.
- Please always observe proper hygiene, follow proper guidelines and boost your immunity to avoid further spread of the virus.
I hope you find this post helpful and useful. Let’s all continue to pray and help one another, which I think would greatly help us fight this virus. Be safe and God bless! 💛